Correct installation is as important as material choice. Follow our professional guide to ensure your gaskets and weatherstrips provide a leak-free, long-lasting seal.
The most common cause of seal failure—especially for self-adhesive foam seals—is poor surface contact. To ensure a permanent bond:
Avoid stretching the rubber or foam during measurement. If you stretch a strip during installation, it will eventually shrink back to its original length, leaving gaps at the corners.
For PVC edge trims with metal inserts, use sharp heavy-duty shears to ensure a clean vertical cut without deforming the internal carrier.
For optimal weatherproofing and longevity, a sealing strip should be compressed by **20% to 40%** of its original height. Over-compressing can cause the material to "set" (lose its resilience) permanently, while under-compressing may allow air or water leaks.
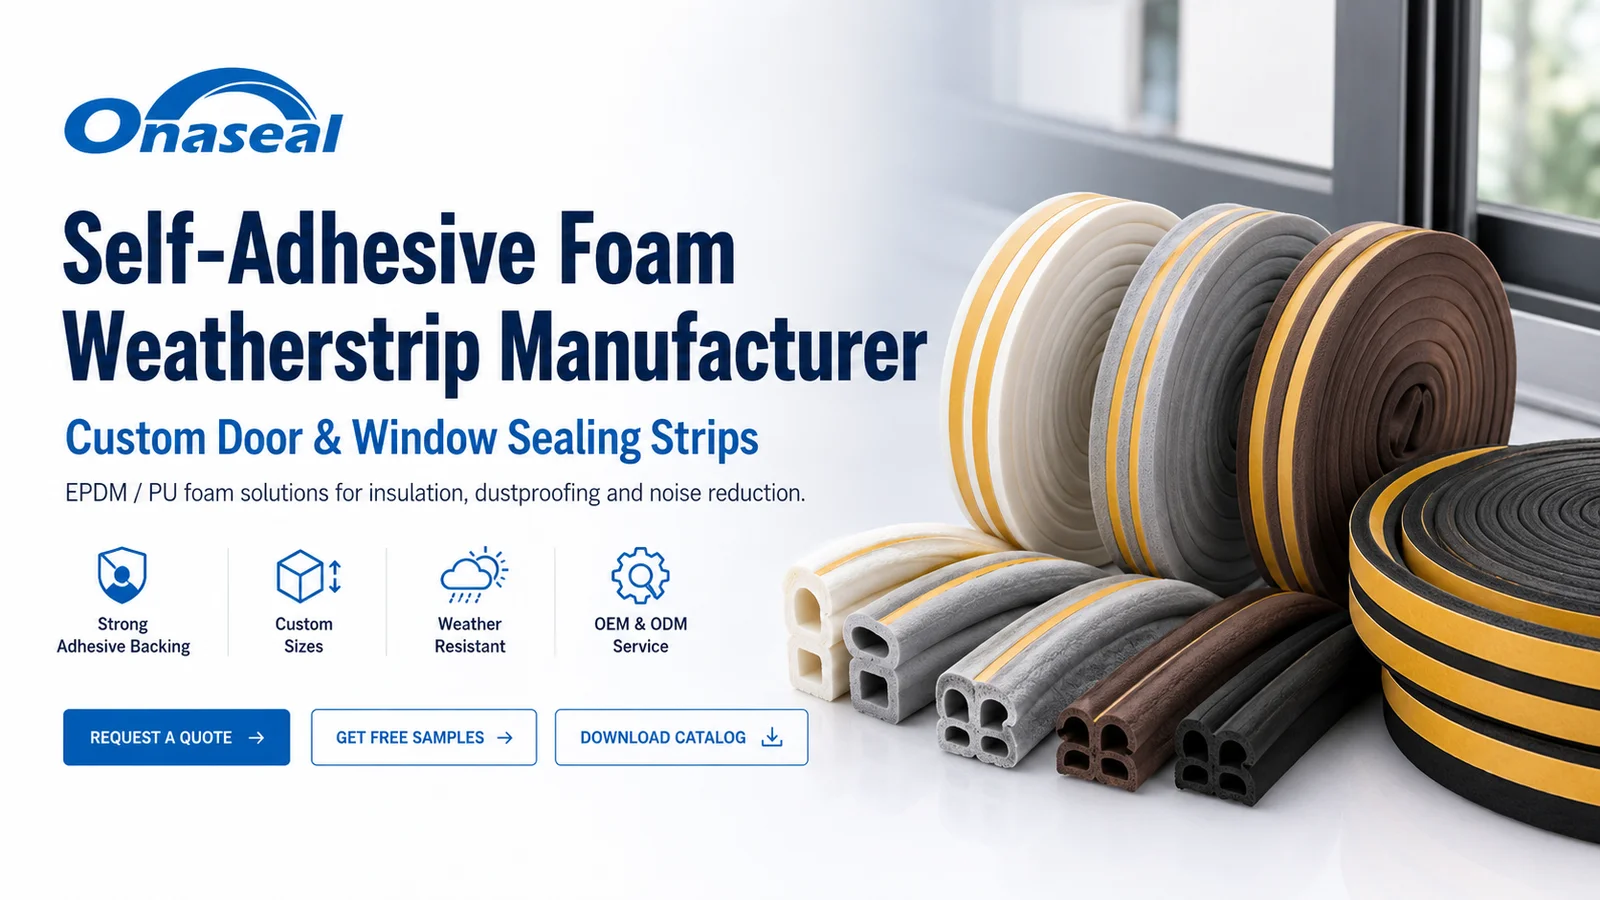
**Need a custom profile size?**
Send us your gap dimensions and our team will recommend the perfect profile.
Remove the protective liner in short sections. Press firmly along the entire length of the strip to activate the pressure-sensitive adhesive (PSA).
For U-channel profiles, start from a corner or the bottom center. Use a rubber mallet to gently seat the trim onto the flange for a secure mechanical grip.
For high-performance automotive seals, consider "miter cutting" the corners or using 90-degree molded corner pieces for a seamless moisture barrier.
Where the two ends of a seal meet, apply a small drop of cyanoacrylate (super glue) to bond the EPDM or Silicone ends together, creating a continuous gasket.
After installation, close the door or enclosure and check for consistent resistance. For critical equipment cabinets, a "paper test" (closing the door on a slip of paper and ensuring it cannot be easily pulled out) is a quick way to verify compression across the entire perimeter.
At Onaseal, we provide not just the products, but the technical expertise to ensure your projects succeed. From custom mold development to installation consulting, we are your strategic partner in sealing technology.
Facing a difficult sealing challenge? Attach a photo of your application and our engineers will respond within 24 hours.
Inquire Now